Spring is the season that exposes weak layering fast. One hour you’re skinning in a t-shirt under bluebird skies; the next you’re on a wind-scoured ridge with spindrift in your face. Add late-season ice to the mix—cold belays, wet spray, and short bursts of intensity—and you get a shoulder season puzzle: stay dry while moving, then stay warm while stopped.
This guide breaks down how to adjust spring ski touring clothing and ice climbing layers for freeze-thaw cycles, solar gain, and variable wind. The goal isn’t a perfect “one outfit,” but a modular system that vents easily, packs small, and keeps insulation dry—classic shoulder season apparel strategy.
If you’re building or upgrading your system, it helps to browse by category: start with Base Layers, then look at insulation and shells in Men Jackets and Women Jackets.
What changes in spring (and why your winter system feels “off”)
Spring isn’t simply “warmer winter.” It’s a different weather pattern and a different effort profile, especially when you’re switching between touring days and ice days.
Freeze-thaw cycles: hard mornings, sloppy afternoons
Overnight refreezes can make the morning feel like mid-winter, especially in valleys and shaded aspects. By midday, solar gain can turn the same terrain into a warm, wet environment. Your layering has to handle both without forcing constant wardrobe overhauls.
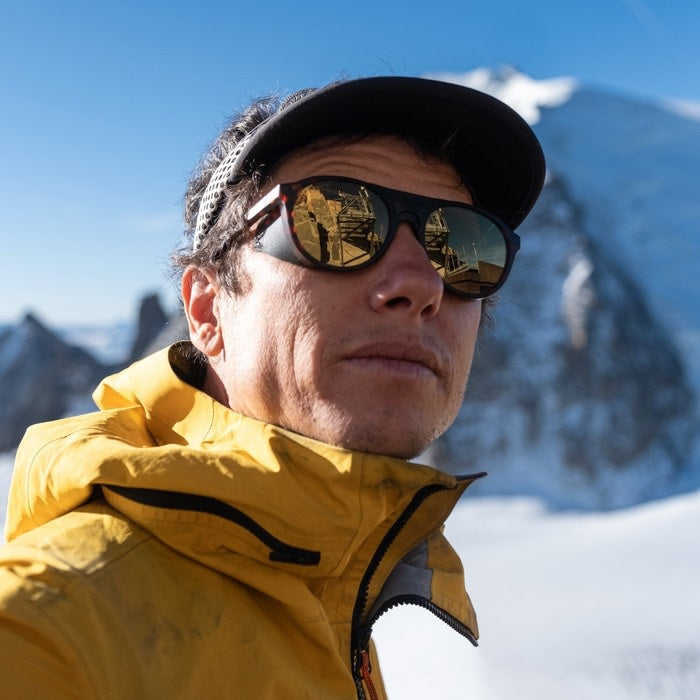
Solar gain: you overheat faster than you expect
Even when air temps are near freezing, direct sun can cook you on the skin track or during a sunny approach. In spring, many people sweat more because they start the day dressed for the parking lot, not the climb.
Wind: spring’s “hidden” cold
Wind is the great equalizer. A mild forecast can still feel harsh on ridges, cols, and frozen waterfalls. The right wind and precipitation protection often matters more than adding extra insulation.
Effort profile differences: ski touring vs. ice climbing
- Ski touring: long, steady aerobic output with big heat spikes during steep skinning, bootpacks, and transitions. Layering priority: moisture management and venting.
- Ice climbing: stop-and-go intensity—warm approach, short hard pitches, then long cold belays. Layering priority: staying warm while static, without soaking key insulation on the approach.

Layering principles for spring: moisture, venting, packability
A good spring system is less about “warmth” and more about control: controlling sweat, wind exposure, and when insulation comes on and off.
1) Manage moisture before you need to
The easiest way to stay warm is to stay dry. In spring, that means preventing sweat accumulation early—especially on the approach. If you start sweating in your insulation, you’ll pay for it later when you stop.
- Start slightly cool: if you feel perfectly warm at the trailhead, you’re probably overdressed for the first climb.
- Use fast venting: zips, loose collars, and opening shells early can prevent the “soaked base layer” problem.
- Protect insulation from sweat: keep puffy layers packed until you’re actually static (belay, ridge snack, extended transition).
2) Prioritize venting features you’ll actually use
Spring days punish complicated systems. Choose pieces that vent quickly without fully stopping:
- Front zips: a simple, high-value vent.
- Shell pit zips or two-way zips: useful when wind or precip forces you to keep a shell on.
- Glove compatibility: zippers and toggles you can operate with cold hands make a real difference on ice days.
3) Packability is performance
Your spring kit should live in your pack without taking over your pack. If you can’t pack it easily, you won’t bring it; if you won’t bring it, you’ll be underprepared when weather turns. Aim for a system that layers cleanly and compresses without fuss.
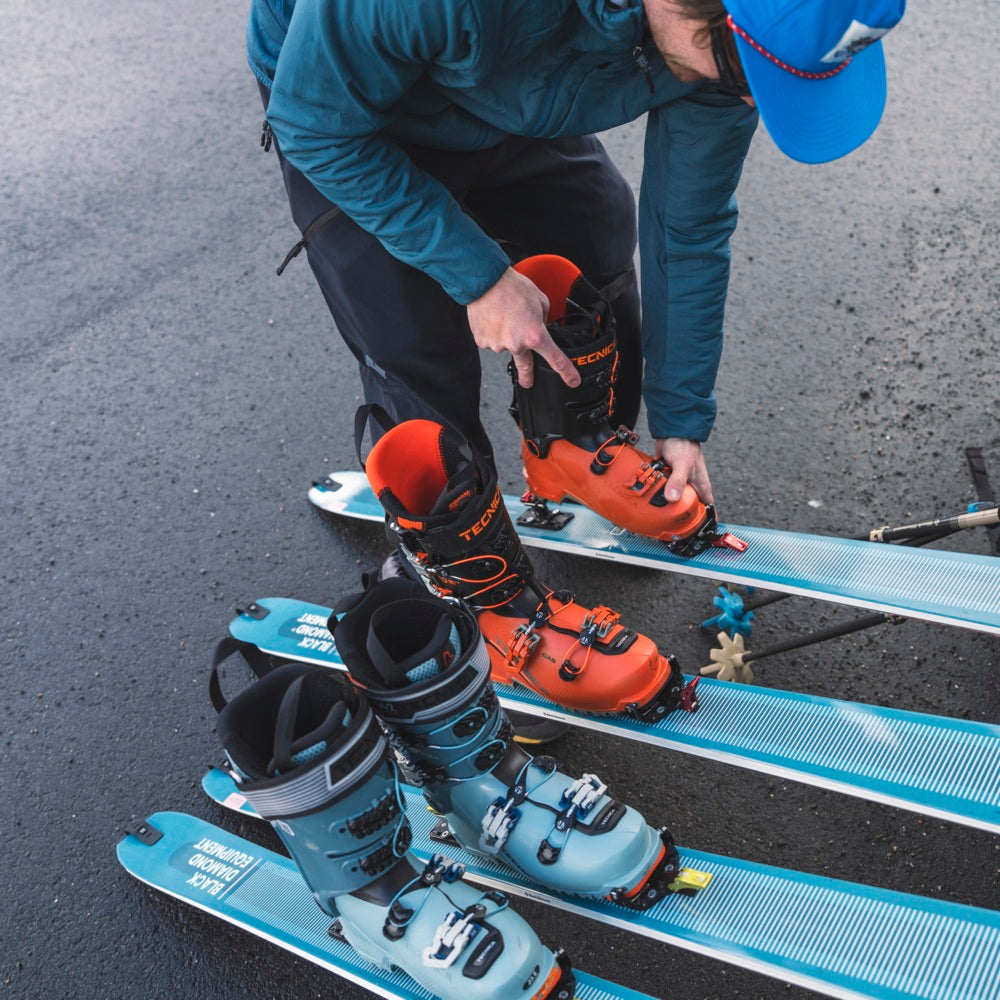
Spring ski touring layering system (base / mid / shell / insulation)
Think of touring layers as a thermostat: small changes early prevent big problems later. Below is a practical framework you can adapt based on temperature, wind, and how hard you run.
Base layer: choose weight based on sweat rate, not the forecast
For spring ski touring clothing, your base layer is primarily a sweat-management tool. A lighter or midweight base often makes more sense than heavy winter options once the sun is strong.
- Lighter base layers: better for high-output tours, warm approaches, and sunny days.
- Midweight base layers: good when mornings are cold, you run cool, or the day includes long shaded sections.
Browse options in Base Layers and consider having two “spring defaults” (one lighter, one midweight) to match conditions.
Midlayer: the piece you wear most (if you choose correctly)
A breathable midlayer is often the workhorse for spring: it adds a bit of warmth, smooths out temperature swings, and can be worn alone on the uptrack. Common midlayer types include lightweight fleece or breathable active insulation—choose what feels comfortable and dries quickly for you.
- When to wear it: cold starts, windy ridges, shaded ascents, or when you want a little buffer without putting on a shell.
- When to pack it: very warm solar days where you’ll tour in just a base + wind layer.
Shell strategy: wind first, then precipitation
In spring, many tours revolve around wind management. A full waterproof shell is important when precip is real or when wet snow is in play, but on many dry spring days a lighter wind-focused layer can be the piece you actually wear most.
- Wind shell / light shell: great for ridges and descents when it’s dry but breezy.
- Waterproof shell: better for stormy days, wet snow, or when you’ll be in consistent precip.
To compare options, explore Men Jackets and Women Jackets.
Insulation: bring it, but try not to hike in it
Most spring tours still need a dedicated insulating jacket for breaks, transitions, and unexpected delays. The trick is keeping that layer dry and reserved for static moments.
- Use cases: summit snack, transition in wind, first-aid stop, delayed group management, emergency warmth.
- Best practice: put it on before you feel cold—especially if you’re sweaty and exposed.
Scenario examples: touring days that drive smart layering
- Cold dawn start, warm descent: begin with base + breathable midlayer; add a wind/light shell for the ridge; strip midlayer for the sunny climb; keep insulation for the transition.
- Warm approach, windy alpine: start in a lighter base; carry shell accessible; add shell early on wind exposure to avoid sweat-chill; use insulation only for stops.
- Spring storm cycle: keep a waterproof shell in play; vent aggressively on the climb; protect insulating layers from wetting out; keep spare dry gloves and a warm hat handy.
Late-season / shoulder-season ice climbing layers (approach vs on-route vs belay)
Ice climbing layers in spring revolve around one key reality: you can be sweating on the approach and shivering at the belay—sometimes within the same hour. Plan layers around phases of movement.
Approach: treat it like a hike, not a belay
The approach is where most insulation gets accidentally soaked. Keep it simple and breathable.
- Base layer: light to midweight depending on temps and how hard you run.
- Light midlayer: optional if it’s cold or shaded.
- Wind protection: useful when spindrift funnels down the drainage or the approach is exposed.
Tip: If you’re arriving at the base sweating, slow down, vent earlier, and consider swapping to a dry hat or gloves before you rack up.
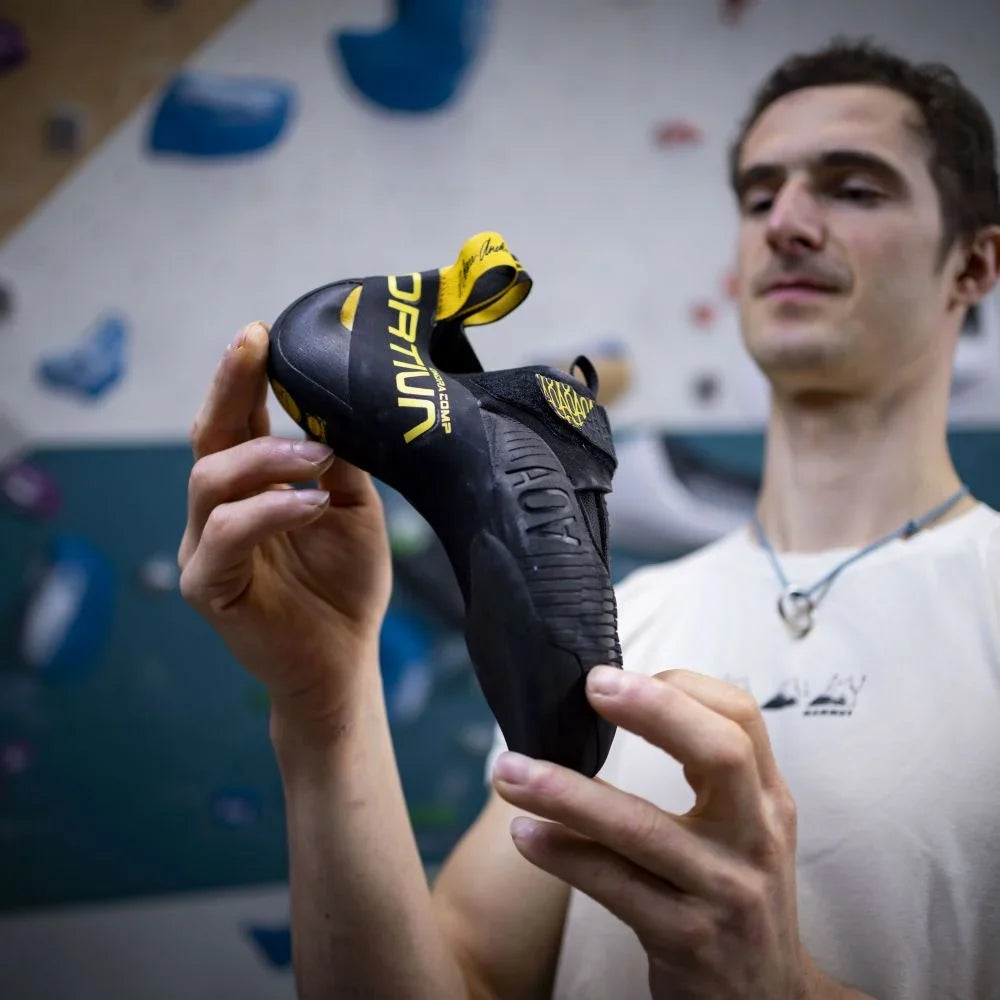
On-route: keep bulk down, keep mobility up
Climbing generates heat in short bursts, but you need dexterity and freedom of movement. Many climbers prefer a streamlined active layer set while leading or following.
- Active warmth: a breathable midlayer that doesn’t feel restrictive under a harness.
- Shell choice: bring a shell for wind and wet conditions; adjust based on spindrift, spray, and temperature.
- Venting: quick zip management matters—open early before you’re sweating.
Belay: insulation is non-negotiable
Belays are where spring ice days can feel surprisingly cold, especially with wind, wet ropes, and shadowed amphitheaters. This is where a dedicated belay jacket earns its place: it should go on fast over your harness and layers.
- Put it on immediately: don’t “wait to see if you get cold.”
- Keep it accessible: top of pack or in an outside pocket so you can deploy it without a full unpack.
- Protect it from moisture: if conditions are wet, consider shell management and where you store gloves/hat to keep essentials dry.
Scenario examples: spring ice days that change fast
- Sunny approach, shaded route: approach in lighter layers with strong venting; add midlayer at the base; use shell for spindrift; belay jacket on every stop.
- Wet spray / mild temps: prioritize moisture control—avoid overdressing on approach; keep a shell ready; consider swapping gloves between climbing and belaying to keep hands functional.
- Cold wind in the canyon: wind protection becomes the “warmth layer”; keep shell handy; belay insulation goes on early and often.
For gear that supports the full day—from approach tools to layers that work with a harness—browse Ice Climbing.

Building a crossover kit (pieces that work for both touring and ice)
The sweet spot for shoulder season apparel is versatility: a smaller kit that covers more days, with fewer “single-purpose” items. Here’s how to think about crossover pieces without relying on any brand-specific claims.
1) Two base layers: one lighter, one midweight
This is one of the highest ROI changes you can make. A lighter option for warm tours and approaches, and a midweight option for cold mornings, shade, and wind. Rotate based on objective and forecast. Start in Base Layers.
2) One breathable midlayer you can live in
Choose a midlayer that feels good under a pack and harness and vents well. If it’s comfortable, you’ll actually wear it—and if you wear it, you’ll rely less on your shell and keep sweat down.
3) A shell you trust in wind (and can vent in motion)
A shell that blocks wind and has usable venting features pays off across both sports. Touring descents and ice belays both expose you to wind-chill. Compare options in Men Jackets and Women Jackets.
4) A dedicated “static warmth” jacket
Even if you rarely wear it while moving, a packable insulating jacket can be the difference between a comfortable day and a survival exercise when something takes longer than planned.
Checklist: Shoulder season pack list (touring + ice)
- Base layer: light or midweight (bring the right one for the day)
- Midlayer: breathable fleece/active midlayer
- Shell: wind/light shell or waterproof shell depending on forecast
- Insulated jacket: for transitions/belays/emergencies
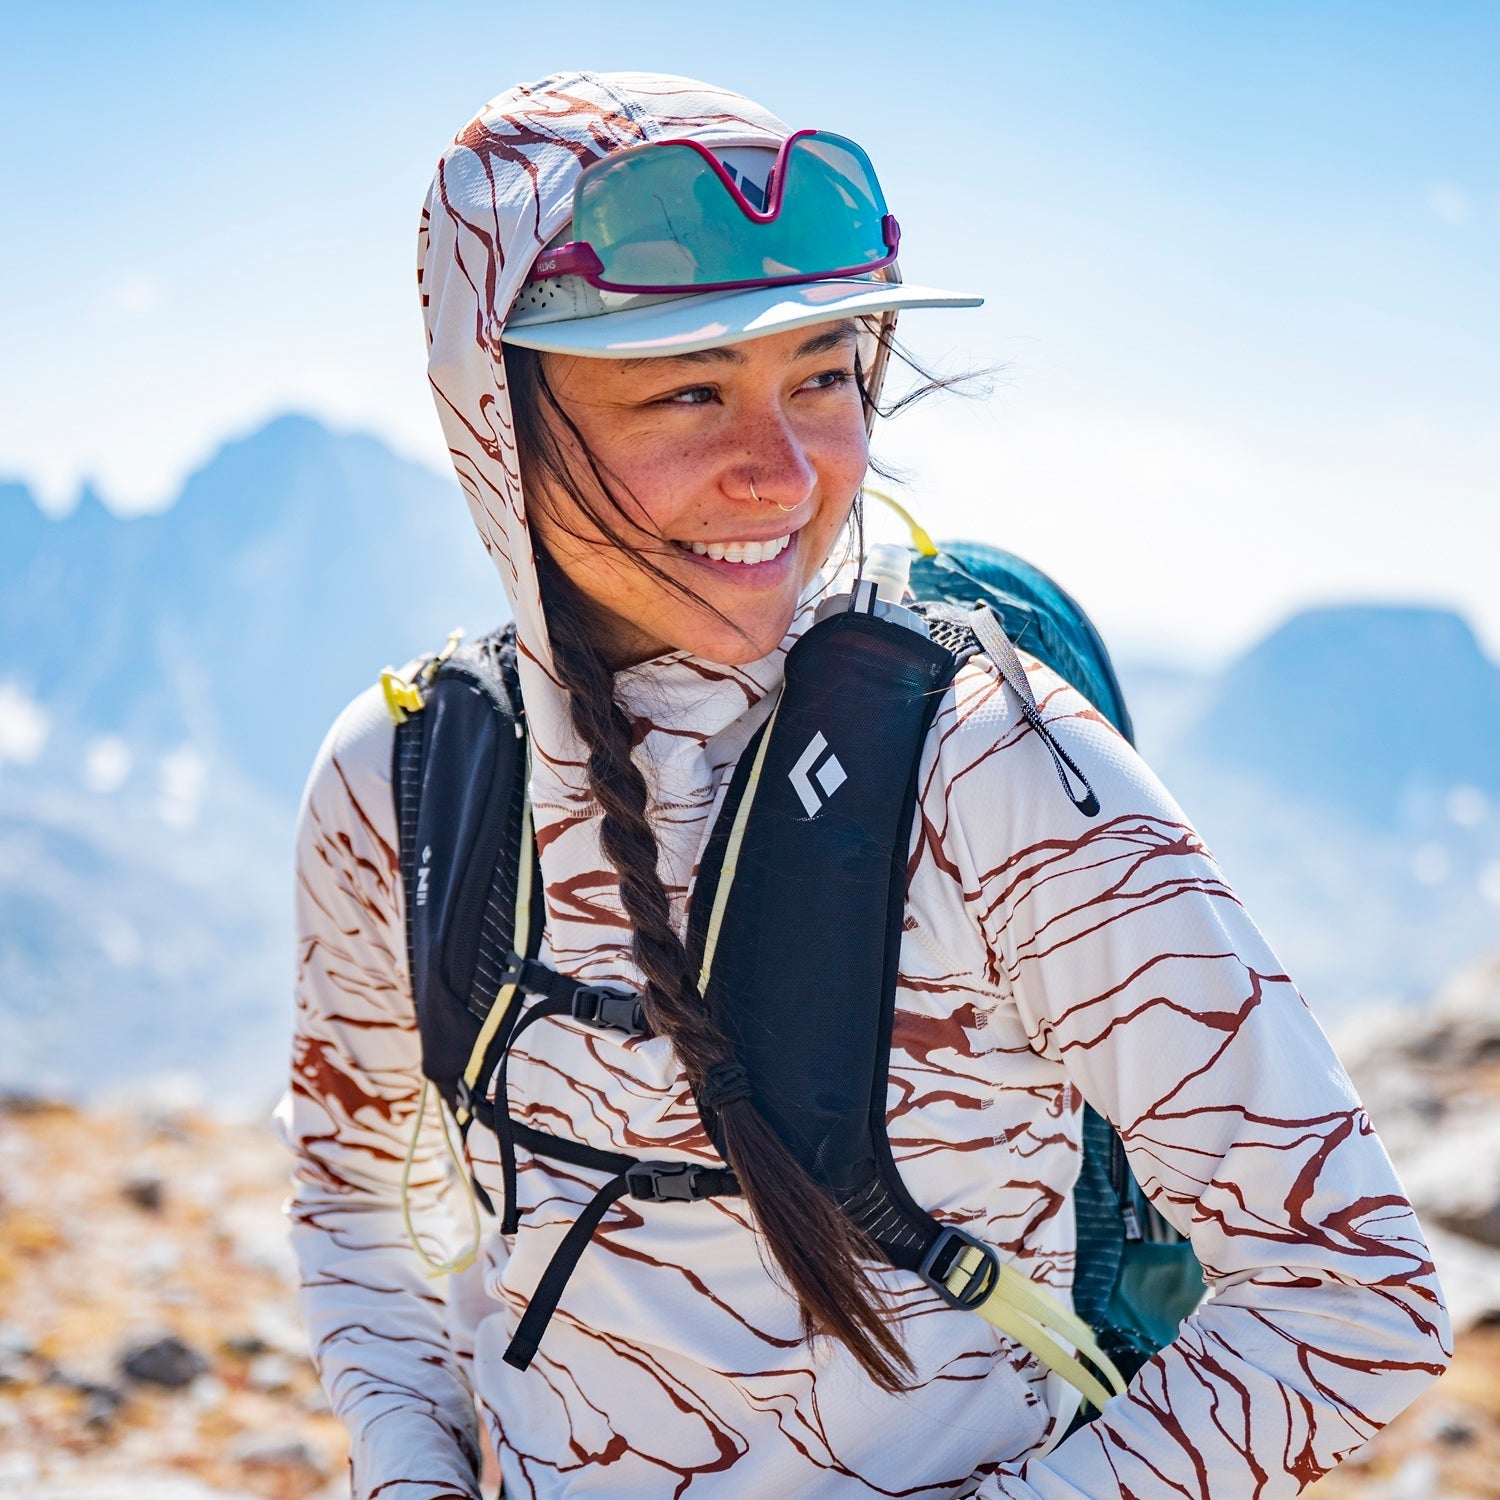
- Hat + neck protection: sun to wind in minutes
- Glove system: lighter moving gloves + warmer belay gloves/mitts
- Spare dry layer basics: at least spare gloves and a dry hat for long days
- Sun protection: sunglasses, sunscreen (spring reflection is real)
- Hydration + salts: you sweat more in spring; plan accordingly
- Emergency warmth: simple essentials appropriate to objective (don’t rely on “moving to stay warm”)
FAQ: Spring layering for ski touring and ice
1) What’s the biggest mistake with spring ski touring clothing?
Starting the day too warm and soaking your base and midlayers early. Begin slightly cool and use venting proactively, especially when the sun is out.
2) Should I wear my insulated jacket while skinning or approaching?
Usually no—save insulation for static moments (transitions, summit stops, belays). If you must wear insulation while moving, vent aggressively and slow the pace to avoid sweating it out.
3) Do I need a waterproof shell in spring?
Some days yes—especially in active precipitation, wet snow, or prolonged exposure. On dry days, wind protection may be the priority. The best choice depends on forecast, objective length, and how exposed you’ll be.
4) How do I adapt ice climbing layers for warm approaches and cold belays?
Approach in breathable layers with easy venting, then add warmth at the base. On-route, keep bulk low for mobility. At belays, put on a dedicated insulation layer immediately to prevent rapid cooling.
5) What base layer weight is best for shoulder season apparel?
There isn’t one “best.” Many people find a lighter base ideal for sunny tours and approaches, while a midweight base works well for cold mornings, shade, and windy days. Having both is a practical shoulder-season solution.
6) How can I avoid soaked insulation on ice days?
Keep insulation packed during the approach, vent early, and use wind/shell layers for protection while moving. Store your belay jacket where you can deploy it fast without unpacking everything.
7) Where should I start shopping to build a modular system?
Start with Base Layers, then choose shells and insulation in Men Jackets and Women Jackets.
Conclusion: Build a spring system that stays dry, vents fast, and packs small
Spring rewards the climber or skier who treats layering like an active skill. If your system prevents sweat buildup, vents quickly, and keeps insulation reserved for static moments, you’ll feel more consistent across freeze-thaw mornings, sunny climbs, windy ridges, and cold belays.
Ready to refine your spring ski touring clothing, ice climbing layers, and all-around shoulder season apparel? Shop Base Layers, then round out your kit with shells and insulation in Men Jackets and Women Jackets.